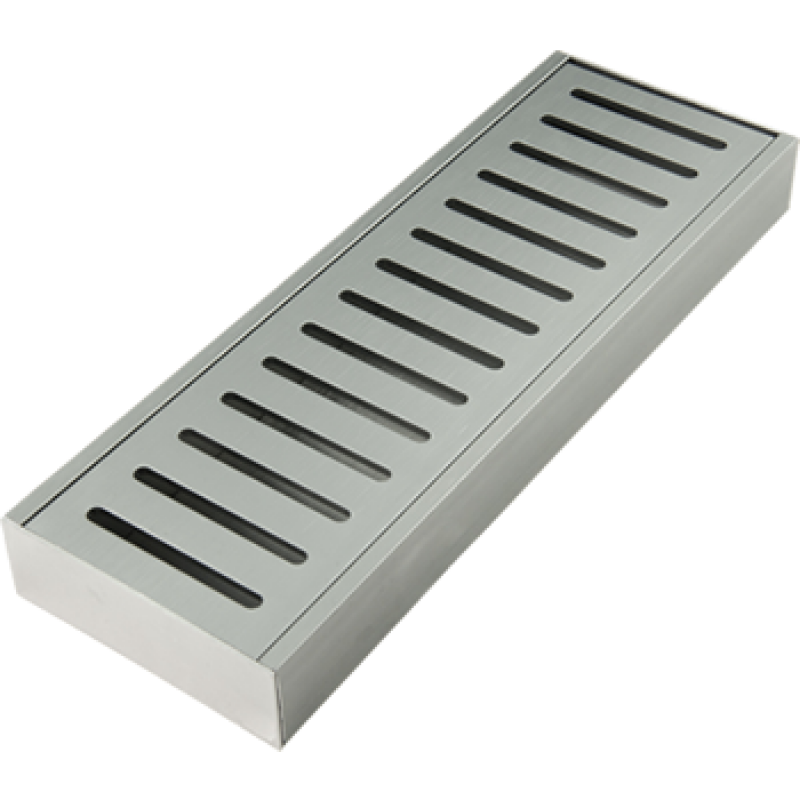
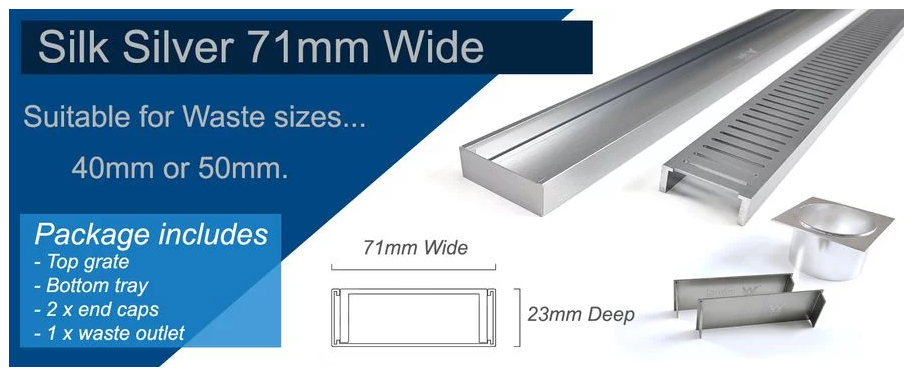
Features:
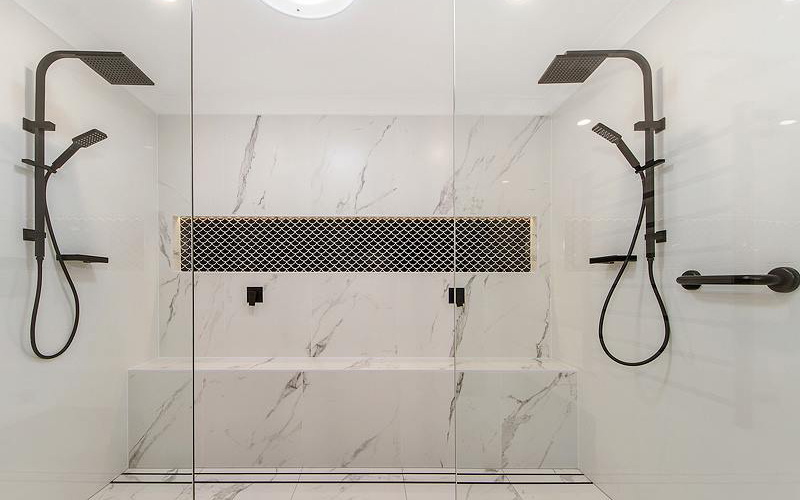
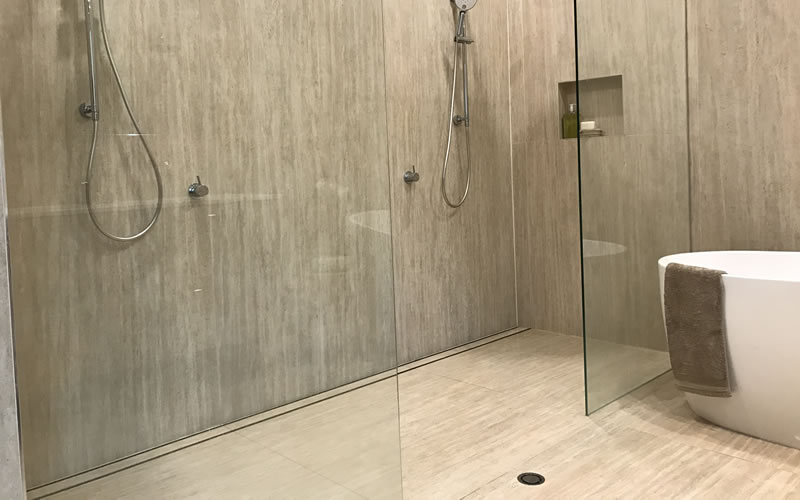
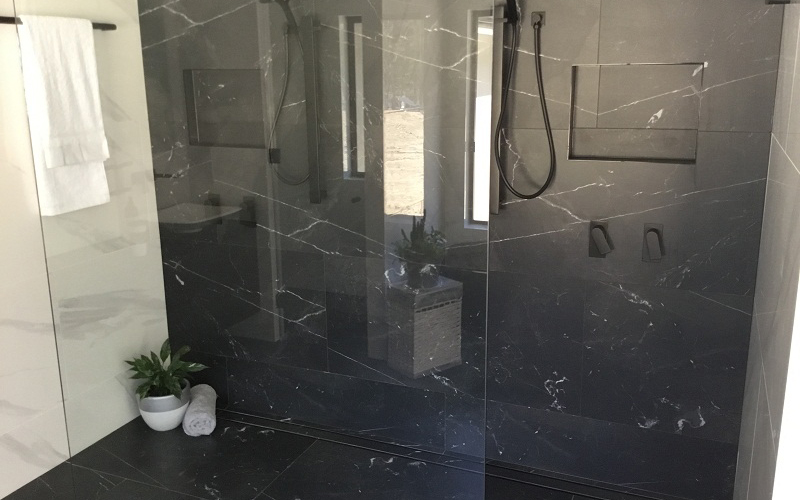
- Custom length floor tile insert
- Any Size, Any Waste Position
- Available in lengths up to 5.6m (ability to extend further using Lauxes joiners)
- Easy to cut to desired length
- Easy to clean (easy roll out system)
- No welding required
- No major plumbing involved as waste canbe positioned anywhere along the bottom tray.
- Australian Standards and watermarked with a lifetime rustproof warranty
- WaterMark Certification 022370 in accordance with WMTS - 040
- Installation MUST be by a licensed plumber and in accordance with AS/NZA 3500.2
- Please note the waste hole is not drilled in the bottom tray - please advise if this is required (additional fees apply)
- A bi-metal hole saw can be used to cut the drainage hole - please ask your plumber/builder
- Includes: 1 x tile insert, 2 x end caps and 1 x 40mm or 50mm (most popular) waste
Cutting & Assembly Instructions:
- For easy cutting of floor grate, we recommend the use of a compound mitre saw fitted with a multi-material cutting blade 80 tooth or more.
- A compact drill with a bimetal hole would be adequate to drill the hole for the waste outlet.
- 1.Cut the bottom tray 3mm shorter than desired length to allow end caps to be fitted
- 2.Cut the top grate 1mm shorter than the bottom tray to allow for easy roll in of top grate and tidy fit
- 3.Using the suitable size hole saw for your pop waste, drill out the hole at the required position to align with the waste pipe in the floor
- 4.Insert the end caps into the bottom tray and secure with a bead of silicone on the inside of the tray
- 5.Place silicone around the lip of the pop waste and secure to the underside of the bottom tray at the recently drilled hole
Additional information:
- Ordering Status – In Stock
- Delivery – Available upon request.
